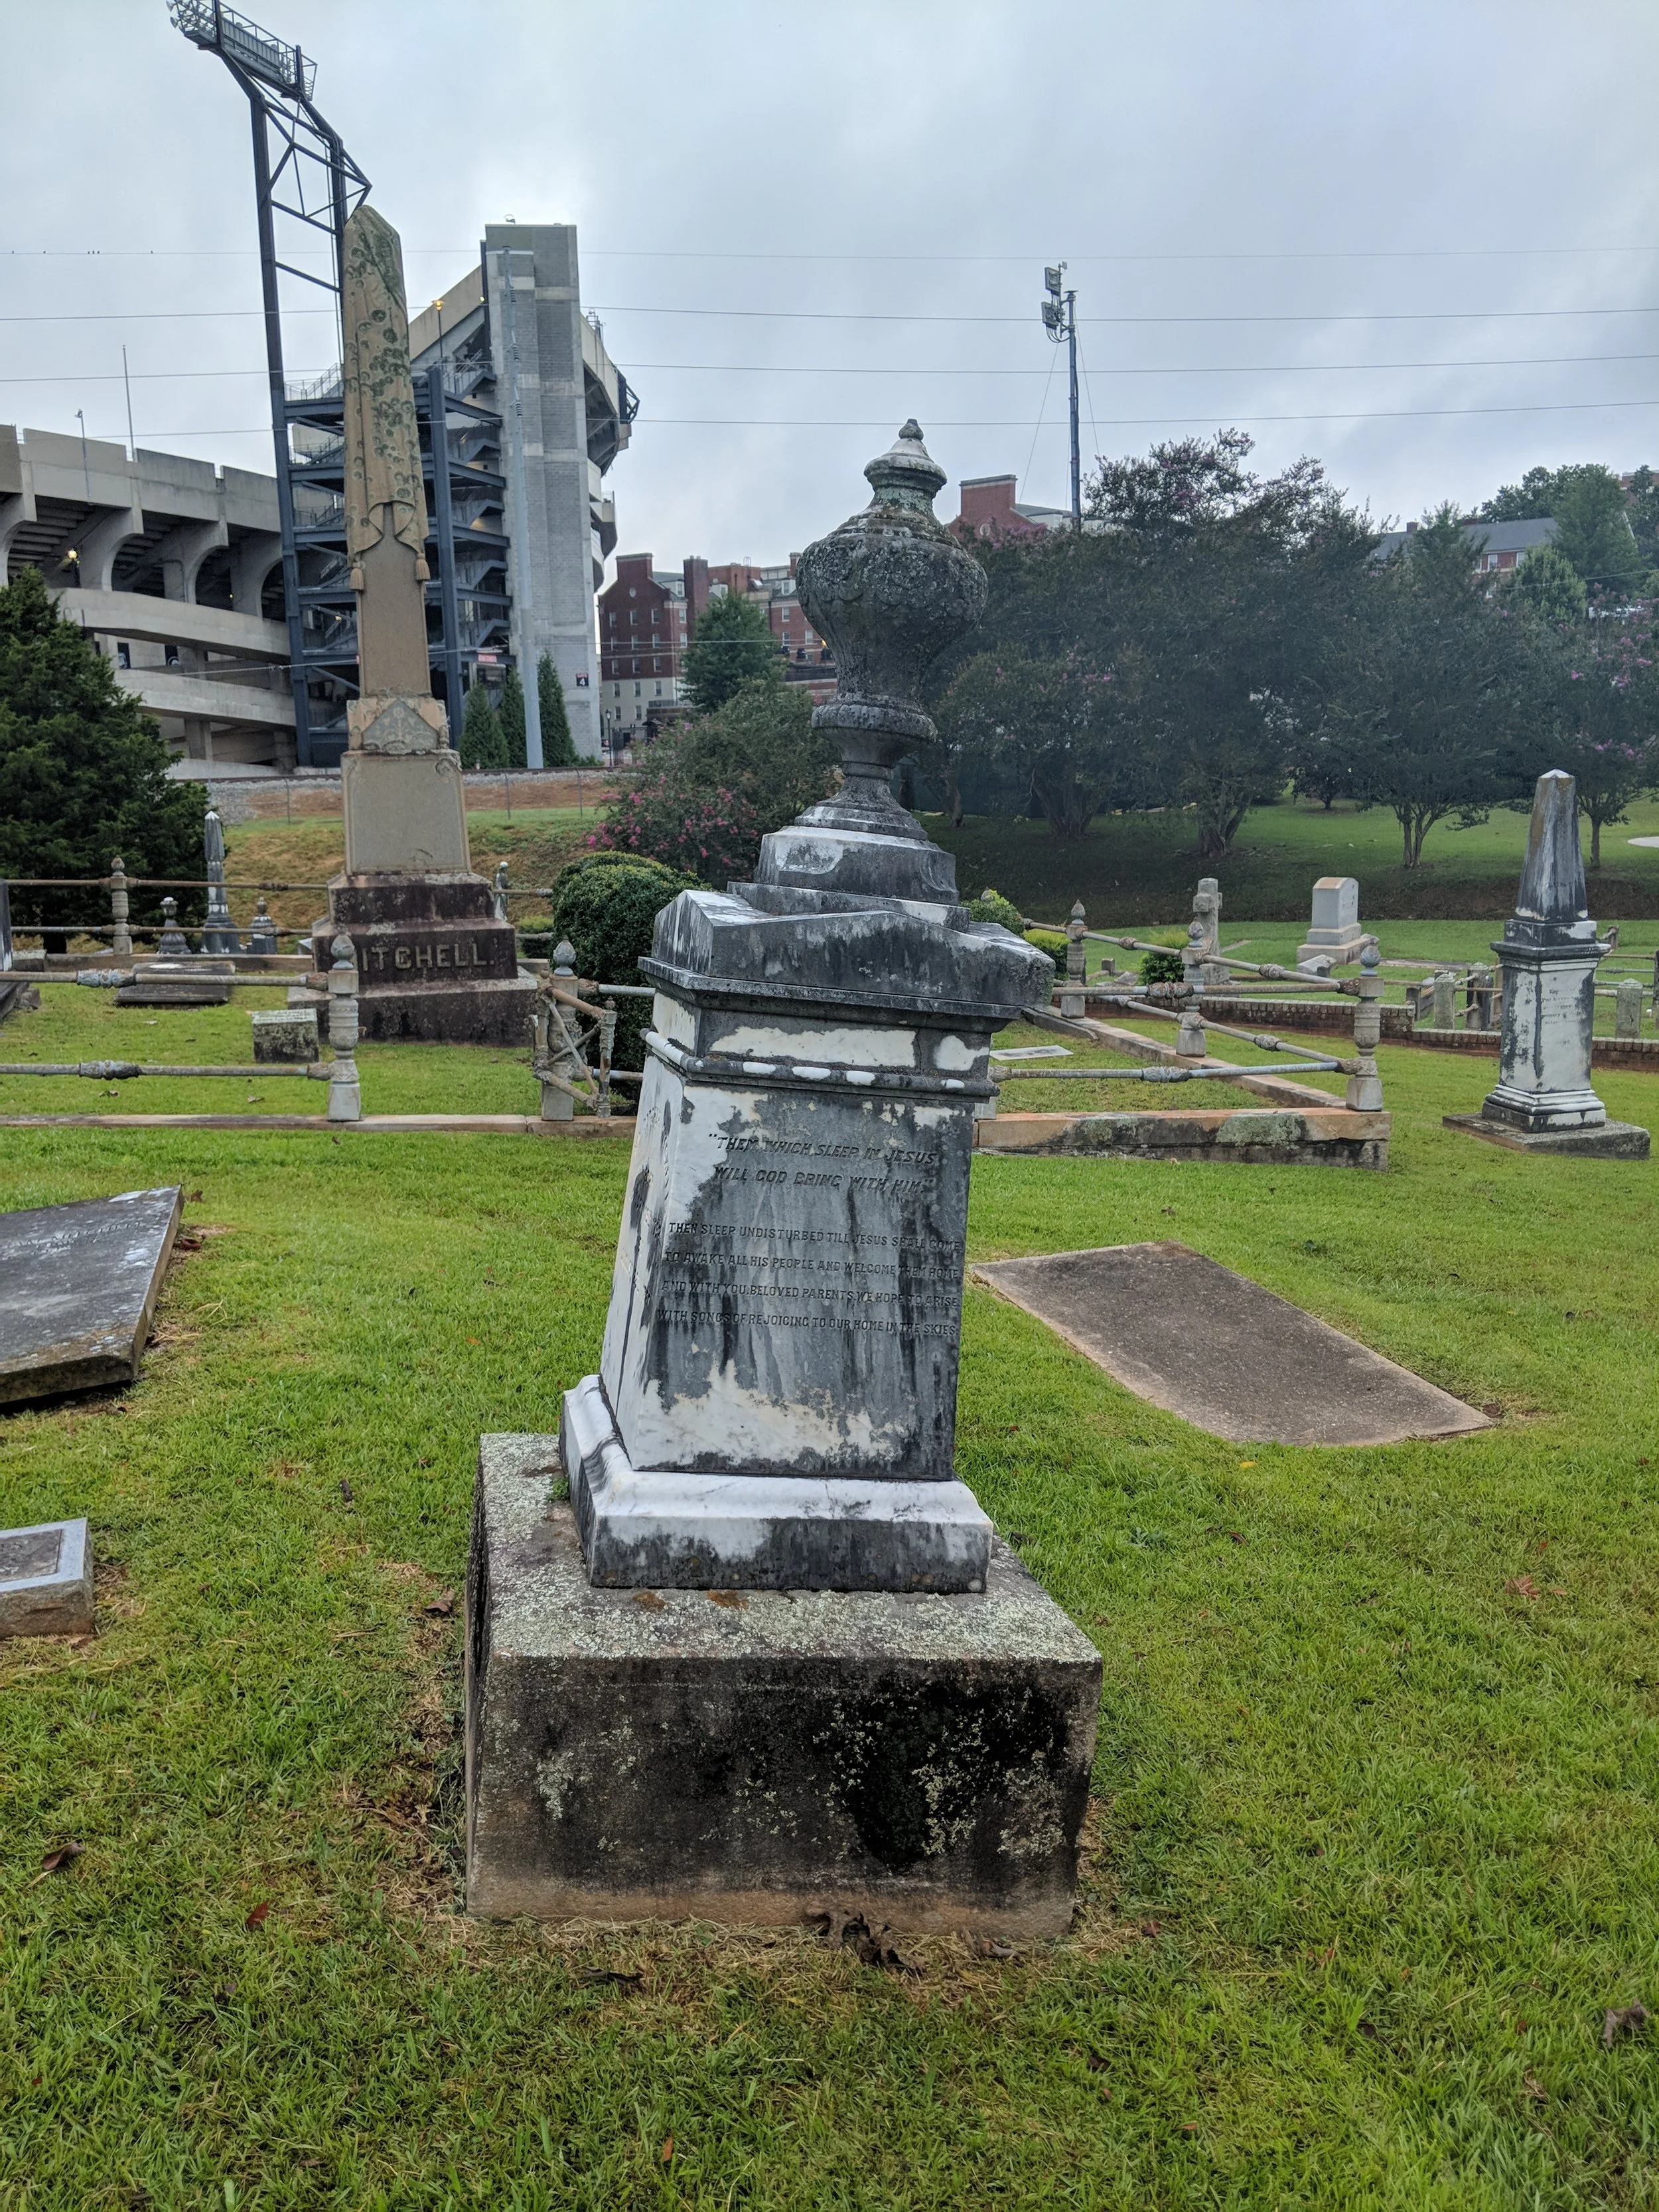
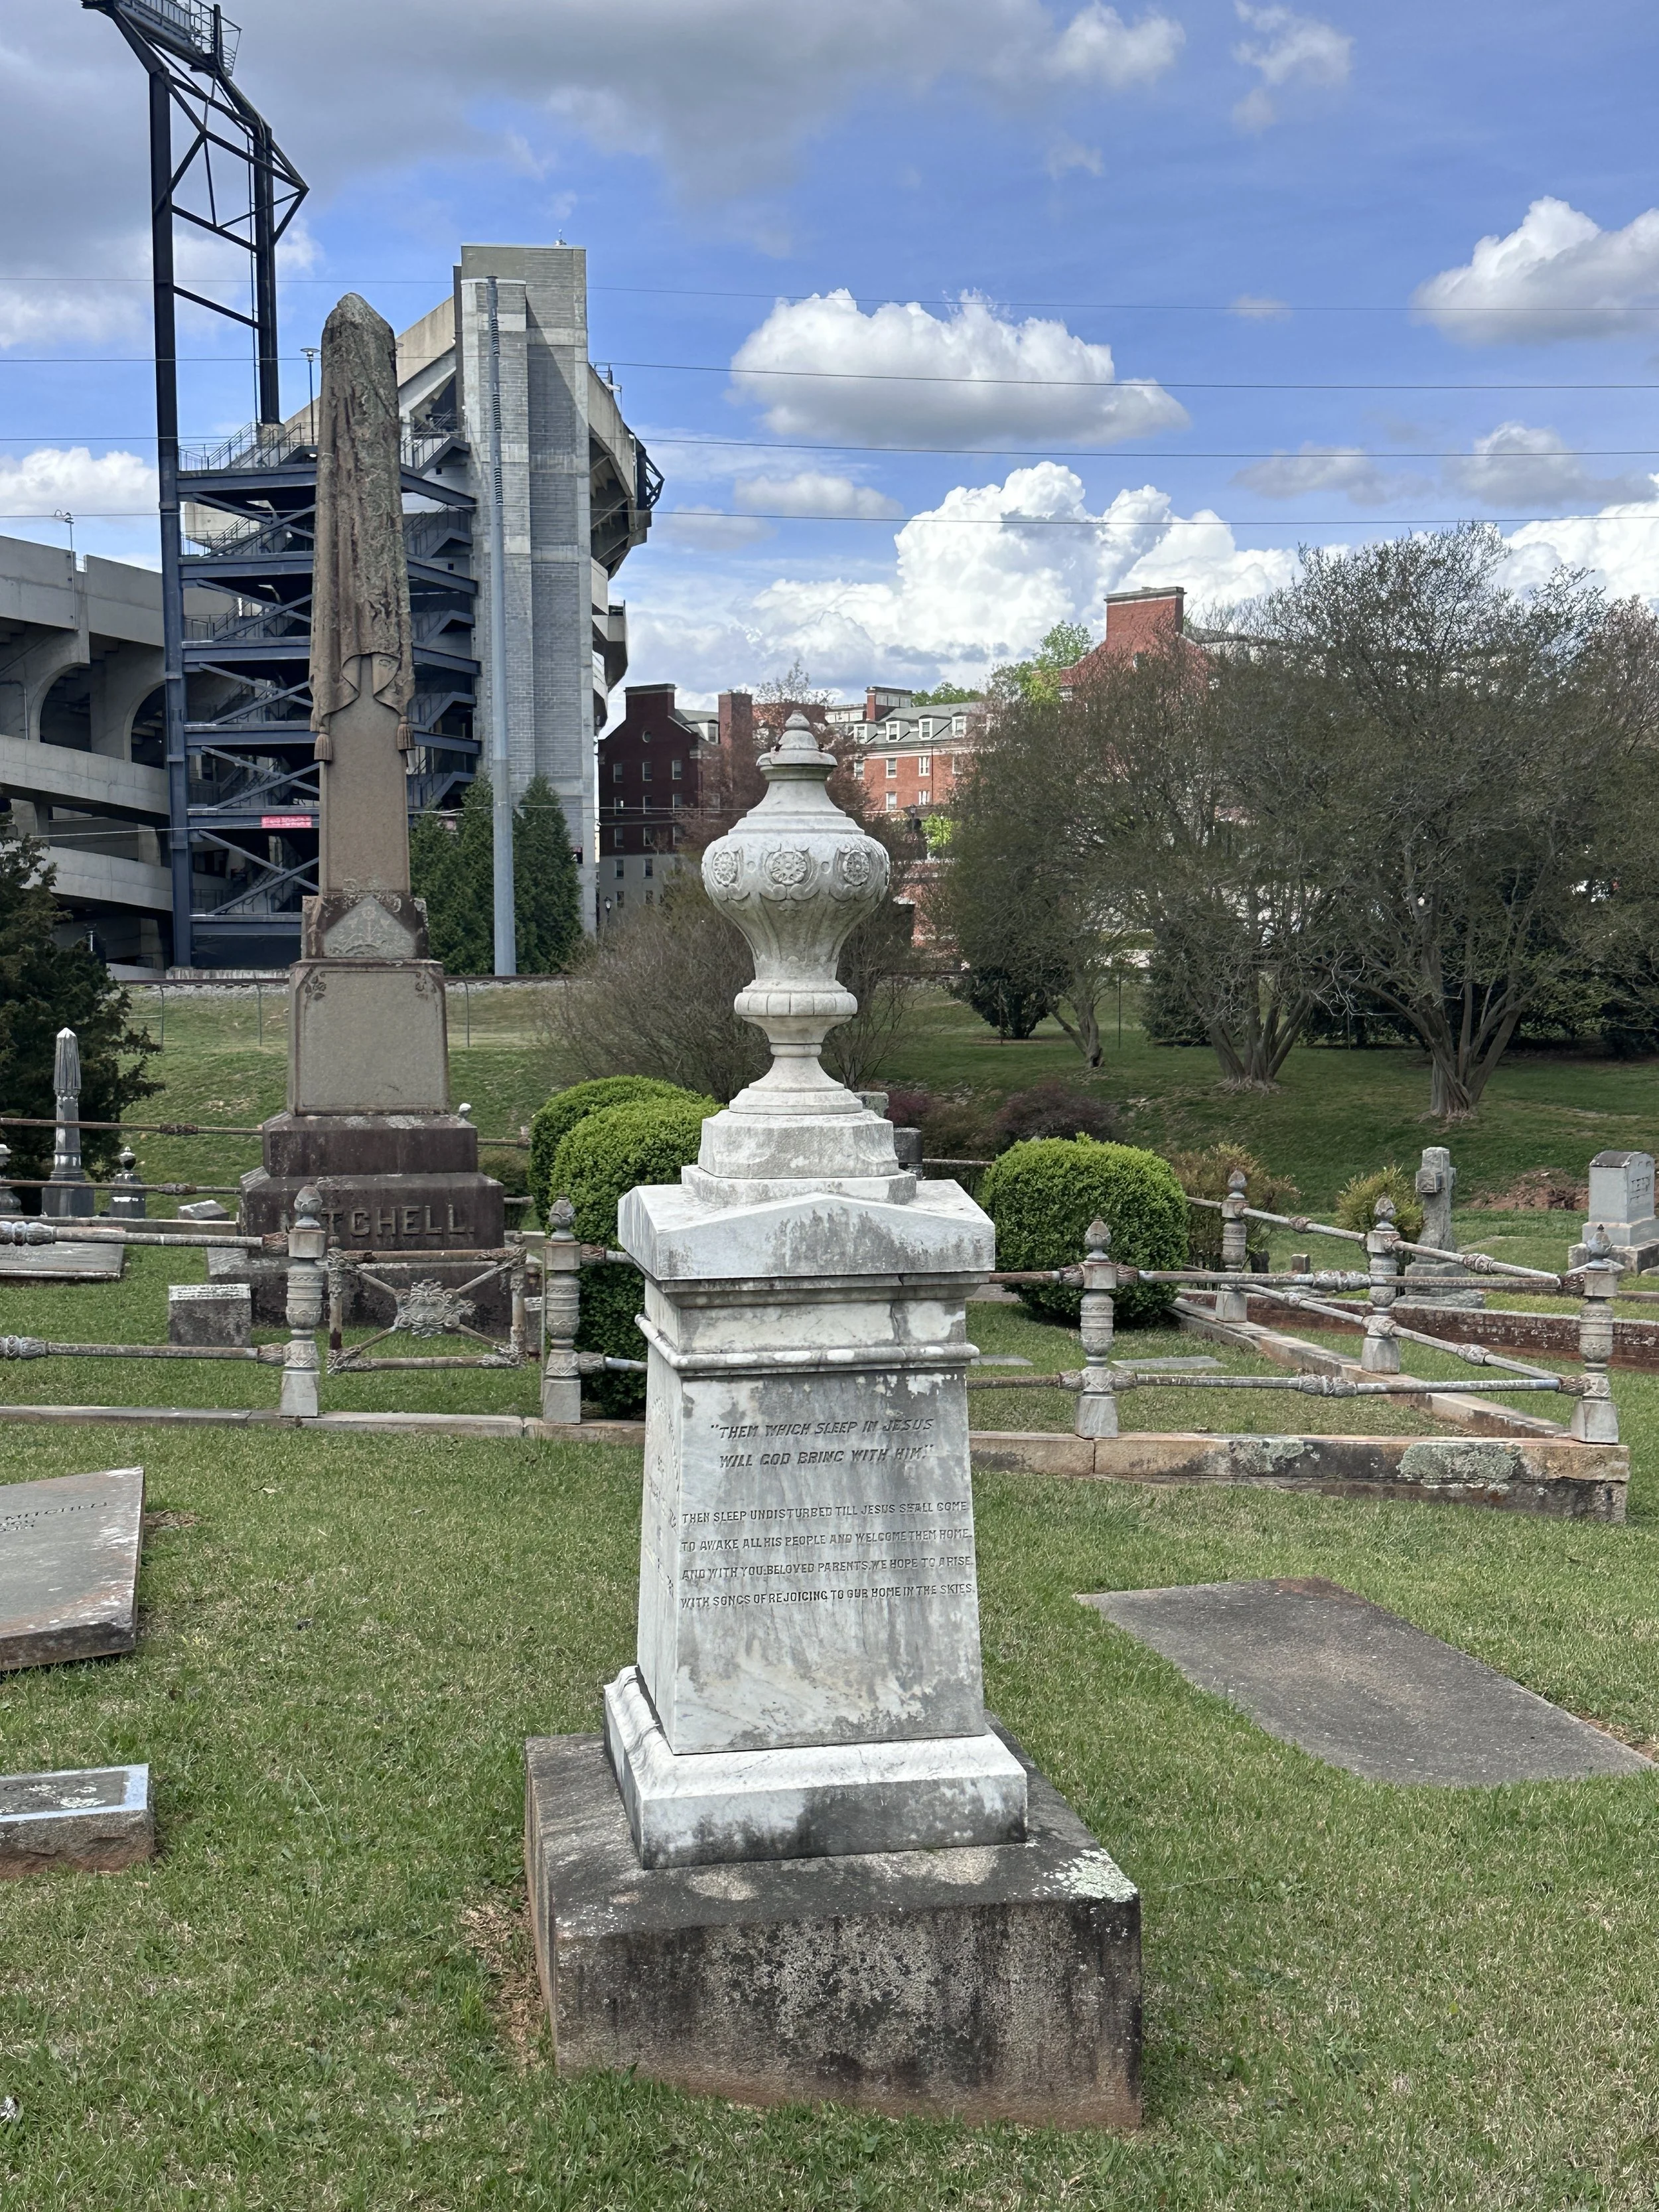
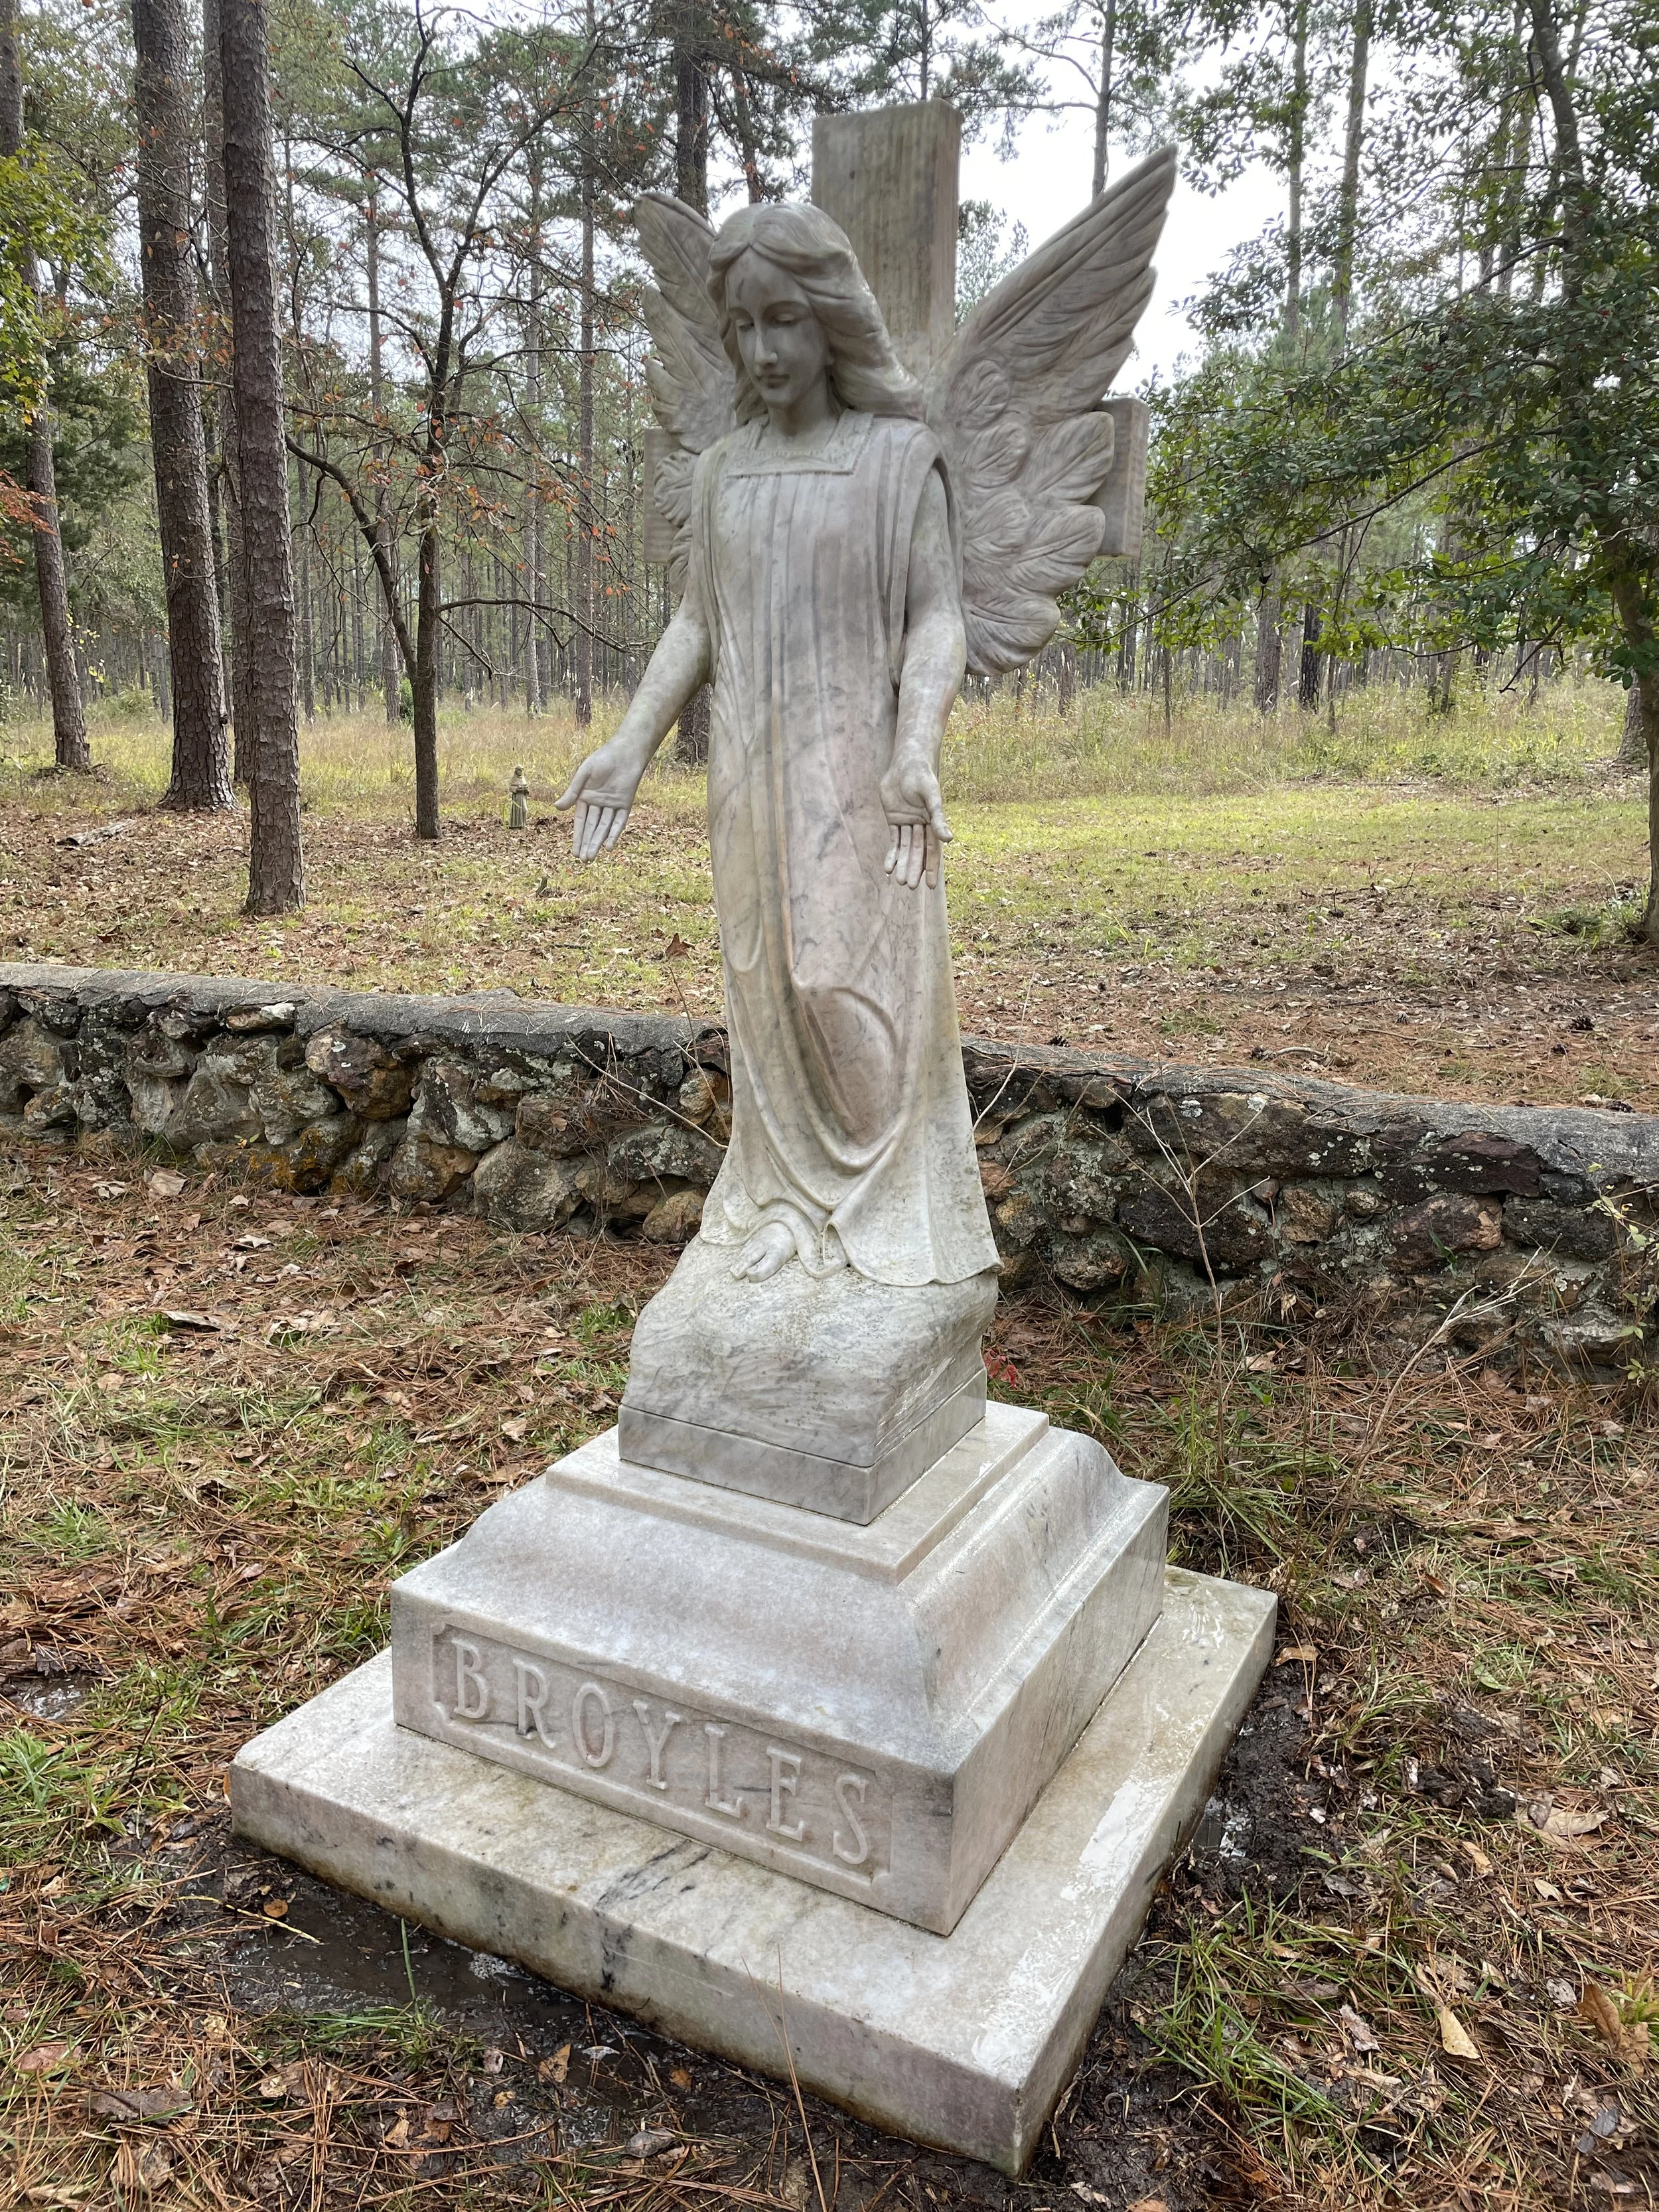
How to PROPERLY Clean a Headstone
In my last blog, I talked about a few of the common mistakes people make when cleaning historic headstones- like using a wire brush or strongly acidic cleaner. You may have thought, “Wow. There are alot of ways I could really muck this whole headstone cleaning thing up! I hope someone can teach me the RIGHT way to do this!” Well, have no fear- that’s EXACTLY what we’re going to talk about today. A little disclaimer though: Reading a blog, googling “ how to clean old graves”, or watching tiktok videos on the topic is not a substitute for taking a workshop or consulting in-person with a professional (like us!). Consider this blog your introductory course, not an exhaustive manual.
Why We Clean:
Headstone cleaning does more for a cemetery than make the headstones pretty, although anyone who has spent the day cleaning a row of graves can tell you “damn, that looks really good!” Removing staining and moss can allow a headstone to be legible, maybe for the first time in a generation or longer. This can help tremendously with genealogical research and documentation. The task of cleaning itself is also an act of service and respect that can bring families and communities together. Cleaning also facilitates further preservation- Without carefully cleaning first, conservators like us at Level Spirit cannot undertake more intensive treatments like repairs or casting molds.
That being said, we also need to understand the literal “why” for cleaning- not just the theoretical. This starts with the cemetery owner or caretaker granting permission for you to clean(please, don’t skip this step) and having a conversation about the goals of the project. Are you trying to get the cemetery ready for a funeral and the desire is for everything to look tip-top? Are you just trying to read the inscription? From there, you have to figure out the material(marble? Granite? Brick?) and the type of growths or stains you need to clean(hint: it’s rarely just ONE thing you’re cleaning off).
The Right Equipment:
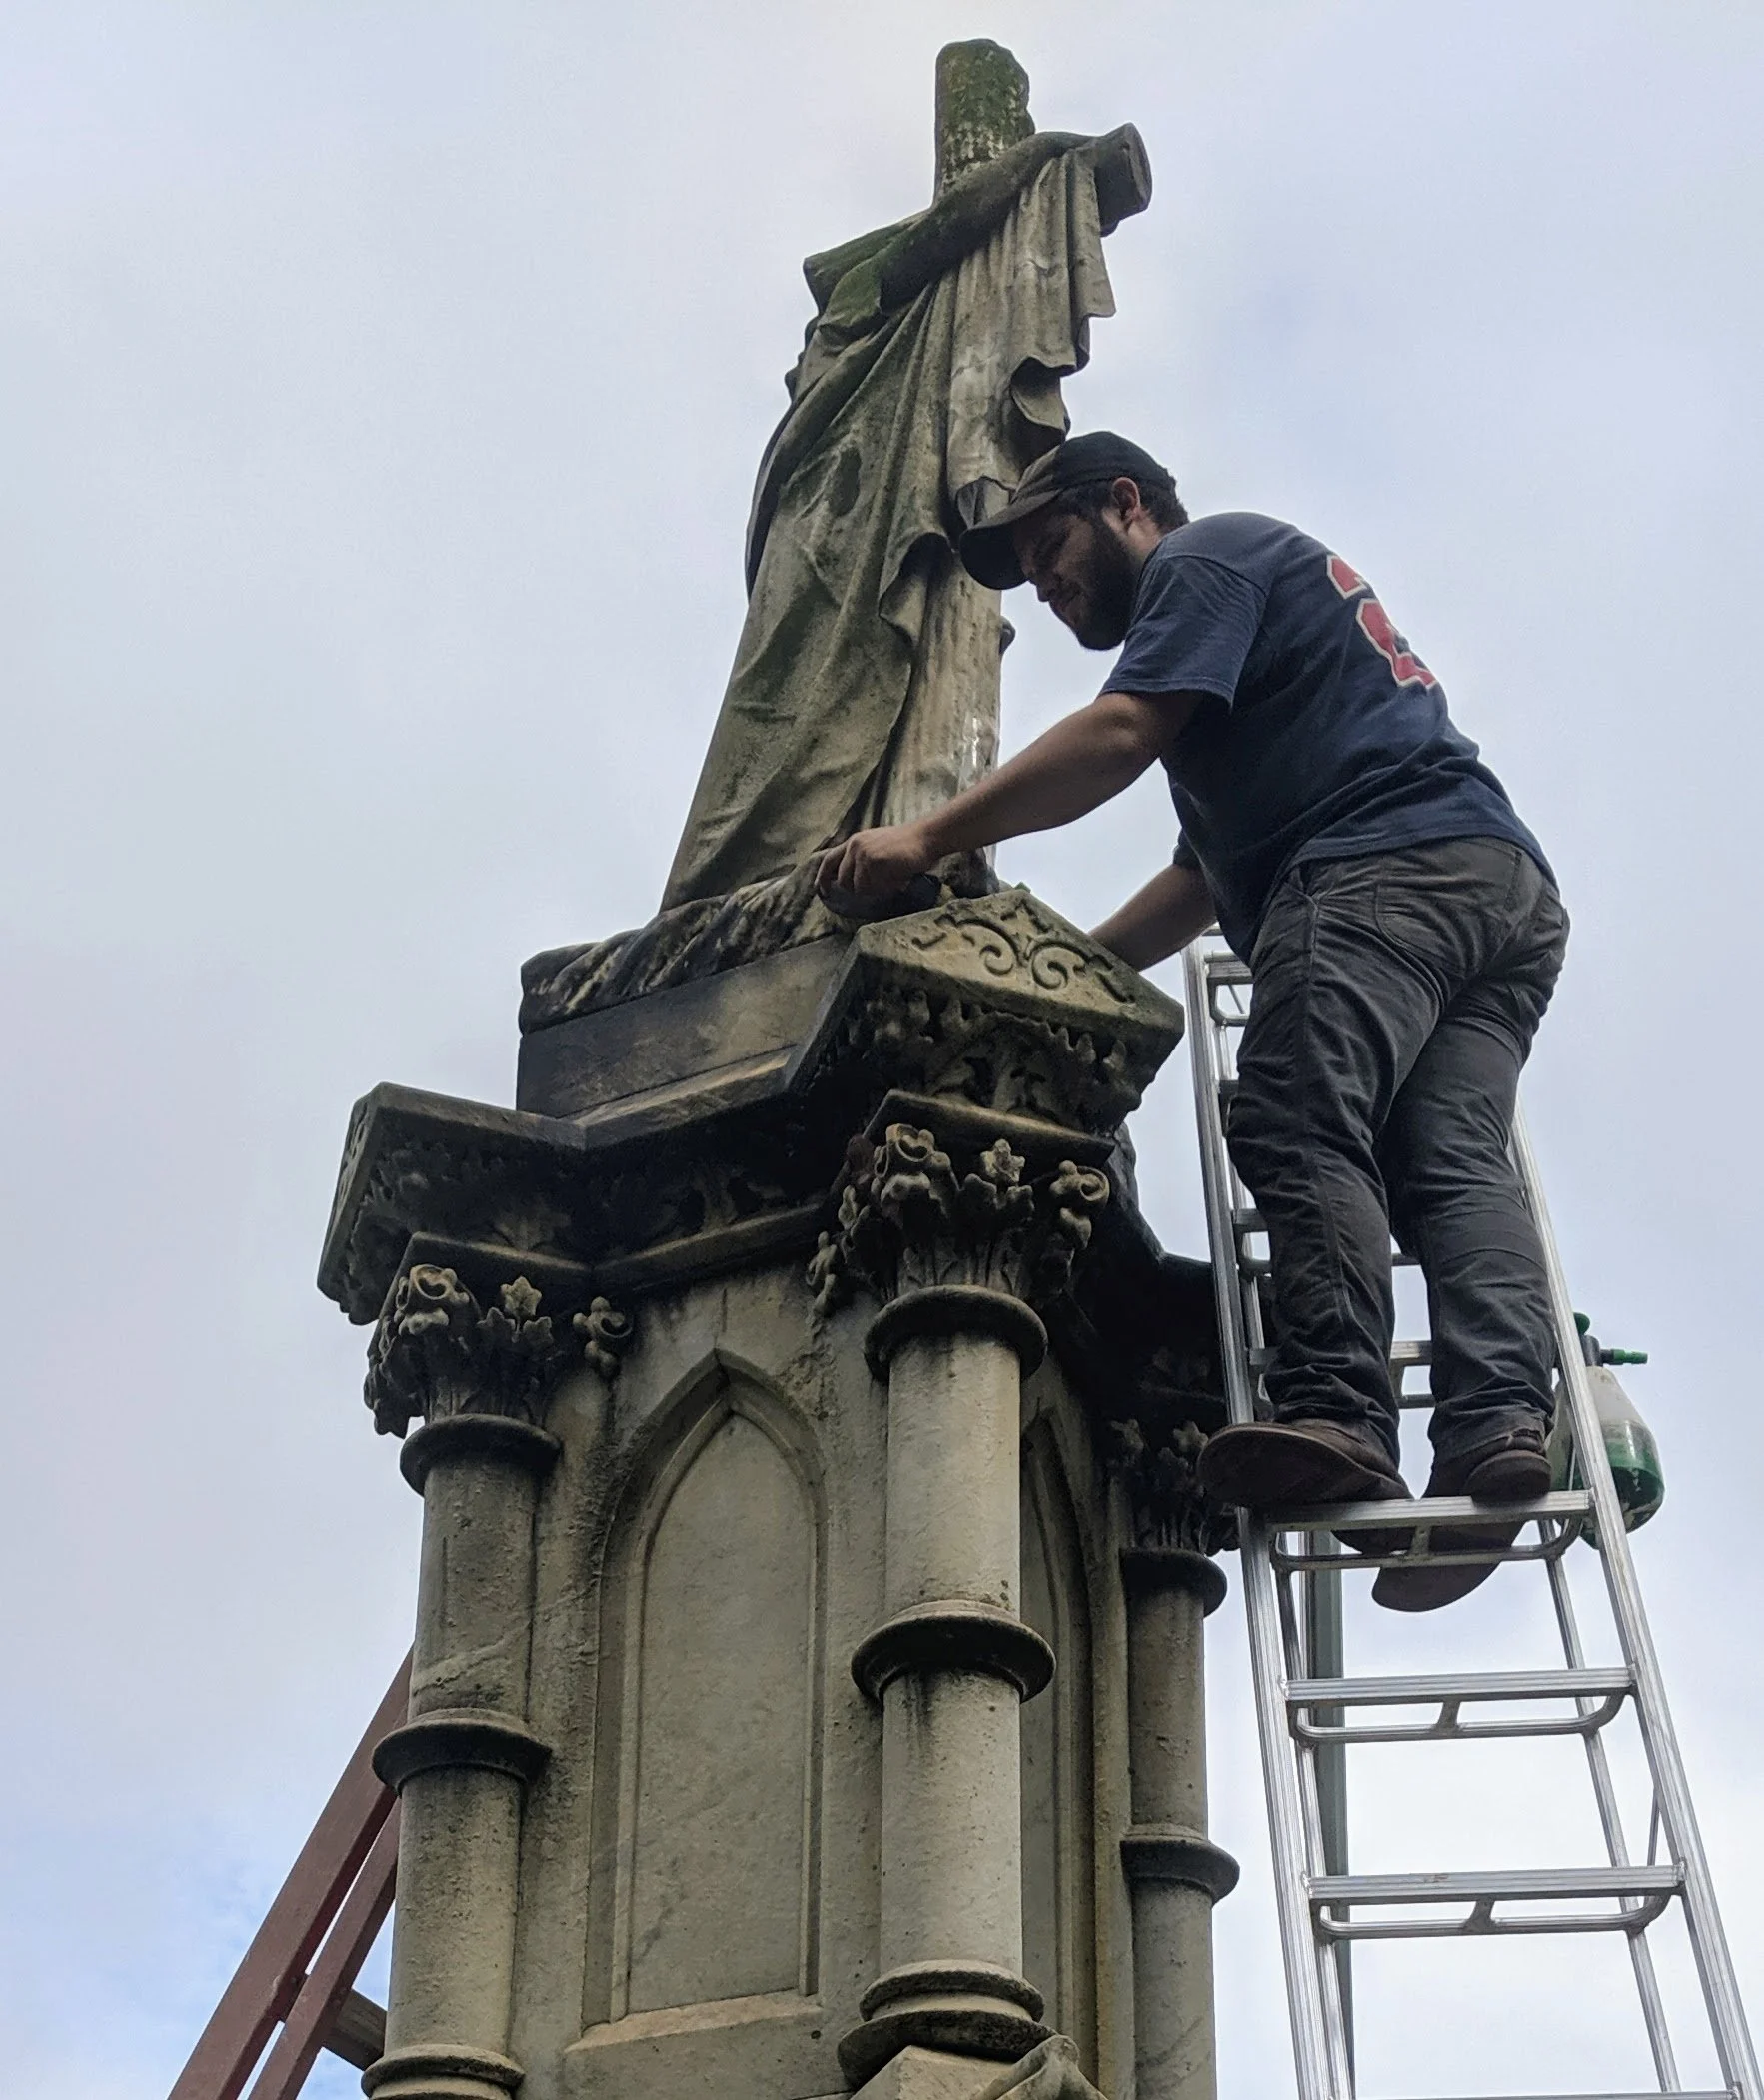
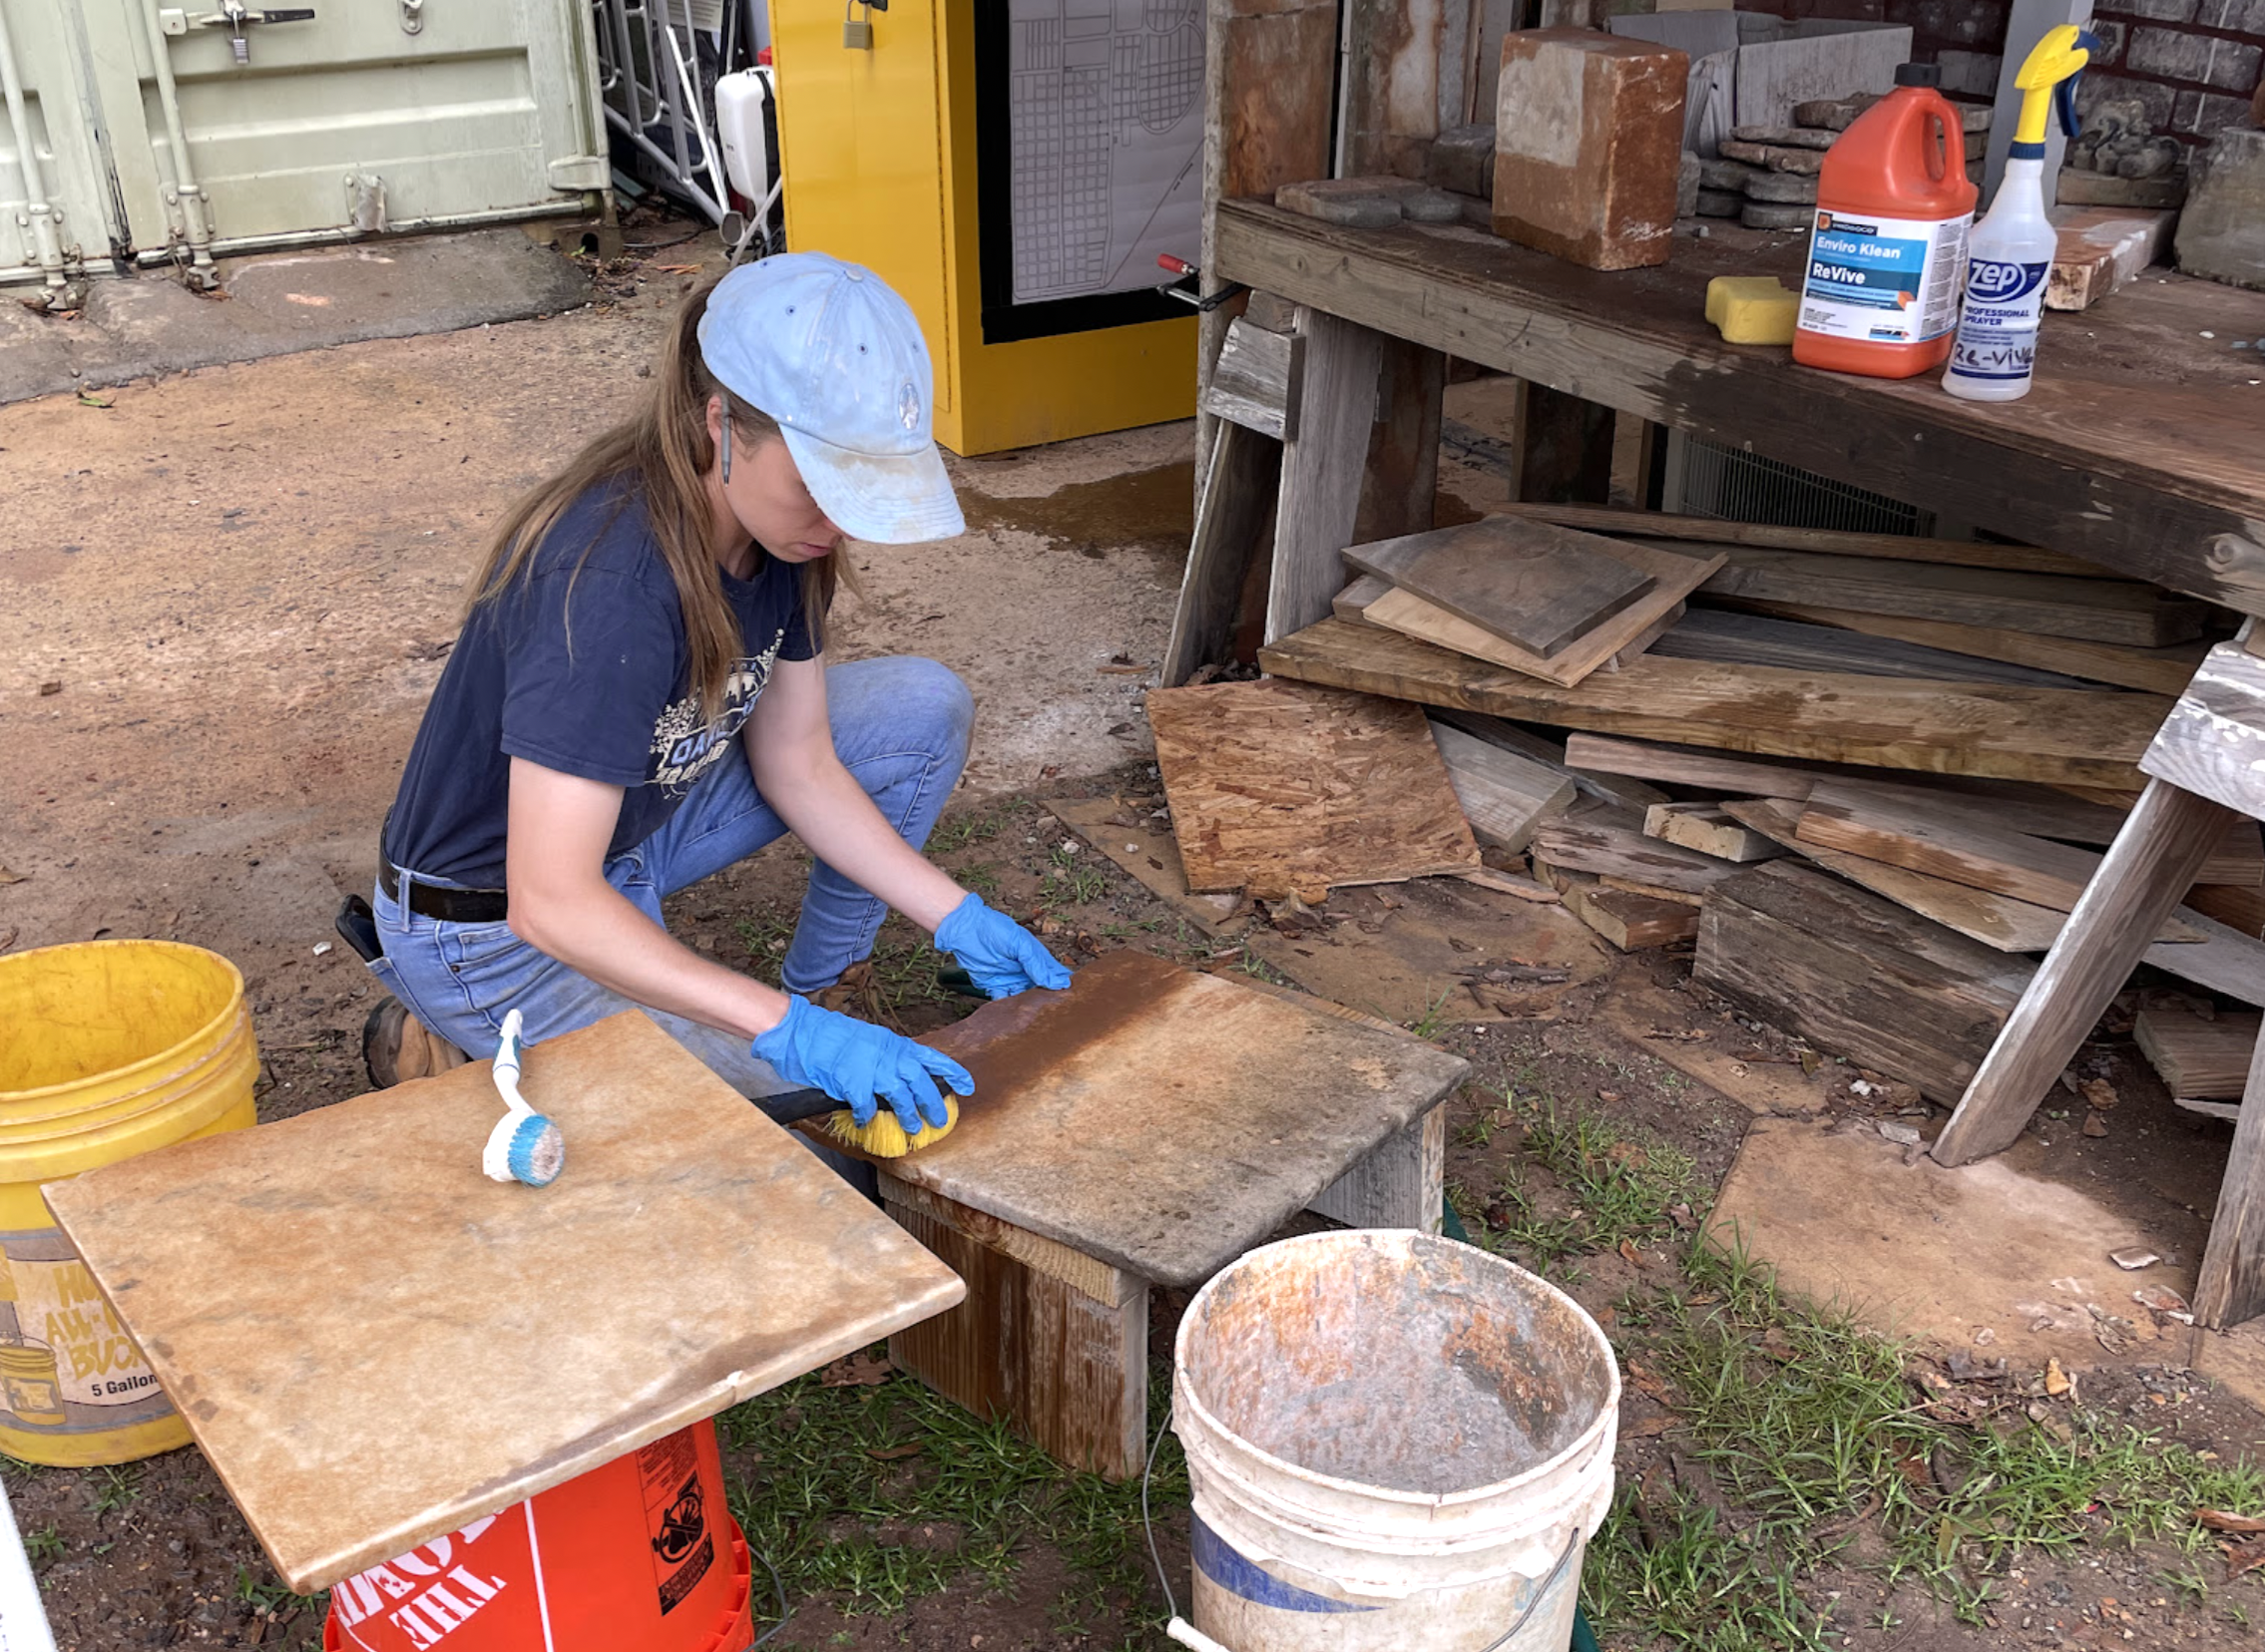
For most cemetery cleaning projects your equipment is minimal- a flat plastic scraper, a variety of soft-bristle brushes, and a pump sprayer of some kind. Your brushes can be synthetic/plastic bristle or natural(animal hair, for example) but should never under any circumstances be metal. The same goes for scrapers. It can be tempting to use a metal paint scraper because those are definitely effective at removing layers of grime. But it’s really easy to slip and scrape the stone with the edge. If you are working at a remote site without running water, it’s essential to also bring additional buckets of water. Most hardware stores sell 5 gallon buckets with matching lids. These work well for transporting large amounts of water without spilling. If a 5 gallon bucket is too heavy for you, start saving up your old milk jugs!
A note on using toothbrushes: Toothbrushes are a favorite tool of headstone cleaners everywhere. They are soft, cheap, and everyone has a few laying around in a draw somewhere. They are great for getting into small crevices. But be sure to replace them frequently, since they wear down quickly, sometimes within the course of cleaning one monument. Before you know it, you’ll be scrubbing a fragile old stone with a stiff piece of plastic which, if the stone is fragile enough, scratches it.
Selecting a cleaner:
Finding the appropriate cleaner is more complicated than selecting the right tools. You must consider the stone type and what you’re cleaning off of it. For example, highly acidic cleaners cannot be used on calcium carbonate-based stones like limestone and marble but may be appropriate for some granites. On the other hand, acidic cleaners are sometimes necessary for removing certain mineral deposits that leach from mortar joints. The condition of the stone is an important piece of data, too. A very weathered stone is likely to be more porous than something just placed in the cemetery last year. This means it will soak up more liquids, including cleaning products, and you might need to take steps to prevent this absorption and keep the product on the surface. If there are any doubts, reach out to the chemical company and explain your project. One of our favorite resources is Prosoco. On multiple occasions, we’ve spoken directly with their chemists to select project-appropriate chemicals. For day to day cleaning projects, though, we advise sticking with a well-tested and regarded product like D2 Biological Solution, which is used by the National Parks Service as well as the Veterans Administration. It’s important to remember that most biological growth can be cleaned off using a plastic scraper, a hose with decent water pressure, and brushes- no chemicals needed!
The process:
Before any cleaning project commences, it’s 100% essential that you document and assess the stones you are cleaning. You want to make sure they aren’t going to topple over when you start to clean and that there is no evidence of sugaring. The most important part of documentation is photographing the monument from all angles. When using any chemical, you should also test it in a small area well in advance to make sure there are no adverse effects. From there, follow manufacturer instructions. Here are the instructions for D2, which is likely what you’re going to use:
1. Saturate the entire surface with undiluted D/2 Biological Solution.
2. Allow undiluted D/2 to dwell on the surface for a minimum of 15 minutes.
3. Scrub thoroughly with a nonmetallic, short fiber scrub brush.
4. Lightly mist with water and continue scrubbing.
5. Rinse completely with clean water using a hose or sprayer.
6. Lightly reapply D/2 Biological Solution.
As you can see, it is a pretty simple process, but here’s a few things to keep in mind. First, your cleaning will be much more effective if the stone stays wet, so keep misting it with your sprayer throughout the process. This is especially necessary on a sunny day. That being said, it’s perfectly fine to work section by section- for example on one side of a tombstone at a time. Another tip for working on inscriptions is to agitate in broad strokes from all angles so you get into the crevices without having to clean letter-by-letter. Above all else, remember that your goal in cleaning is NEVER to attempt to make a stone look brand new. If you’re doing that, chances are you’re doing damage.
For complex or fragile cleaning projects, we’re here to help!